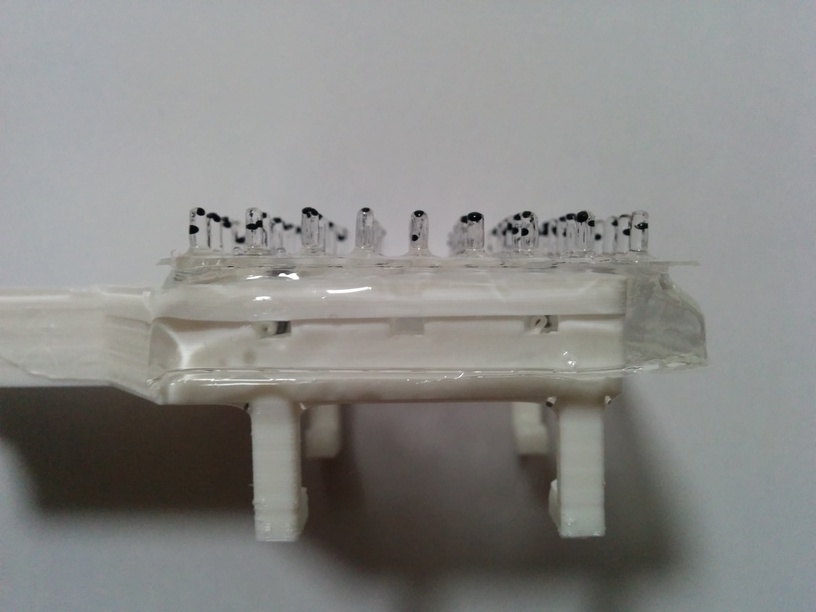
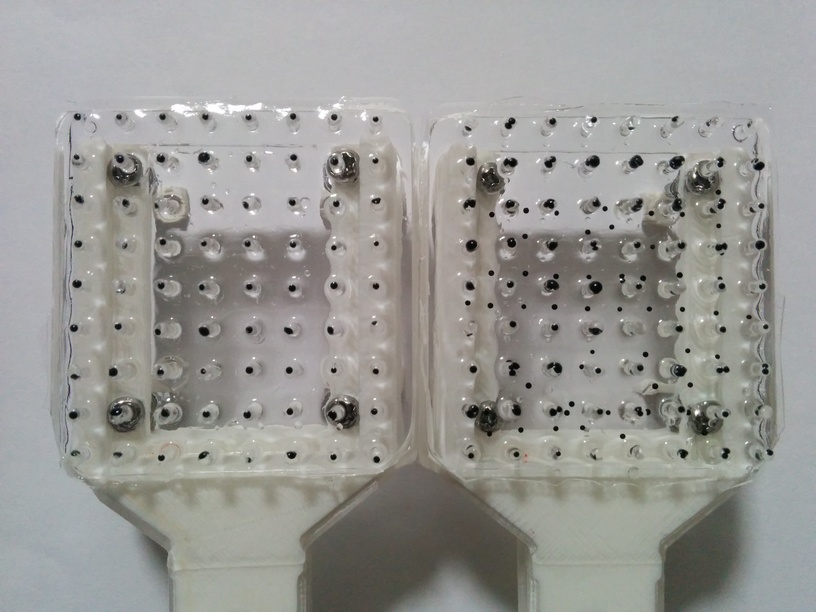
- In order to increase the sensitivity of normal force of FingerVision, we explore to develop a FingerVision with whiskers. Whiskers are made with the same material as that of the skin. A new mold is developed for whiskers. This page describes its manufacturing and video processing.
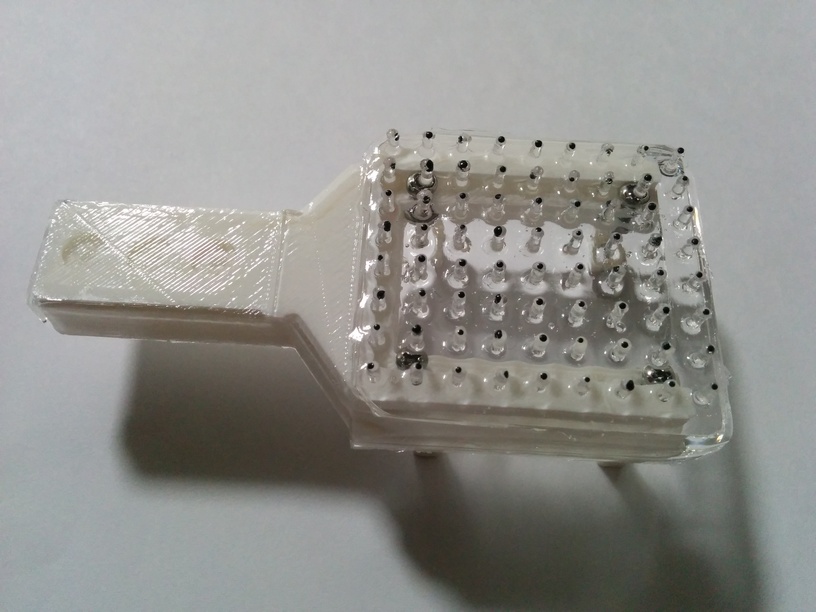
This figure shows an example of FingerVision with whiskers (camera is not mounted yet). Whiskers are easier to deform than the silicone skin, so FingerVision becomes more sensitive to external force. The whiskers and the skin sense different ranges of force, thus the dynamic range of the sensor is increased.
Manufacturing †
As the preliminary development, we make whiskers with the same material as that of the elastic skin (i.e. silicone). We modify the mold in order to cast silicone to make whiskers.
Since ComposiMold is used to create the surface of FingerVision, modifying its shape from a flat to a plain with holes is an easy solution.
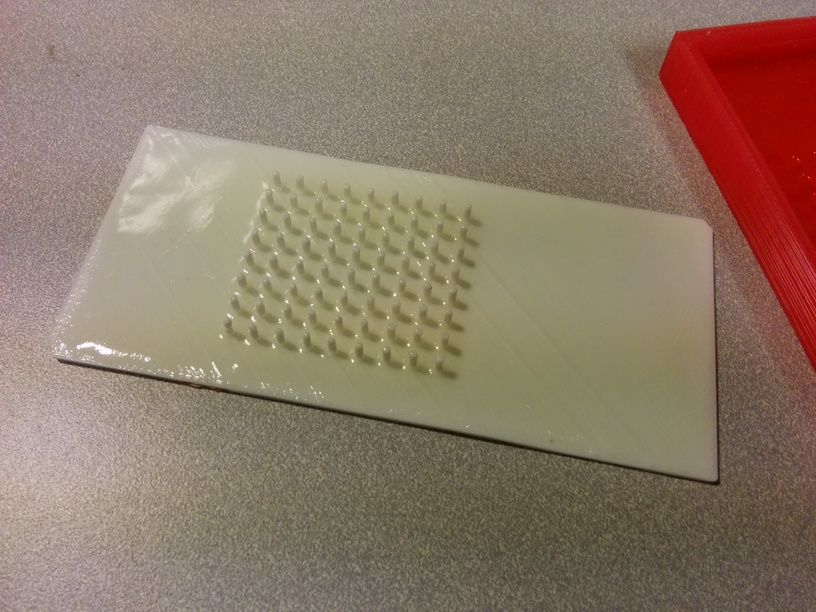
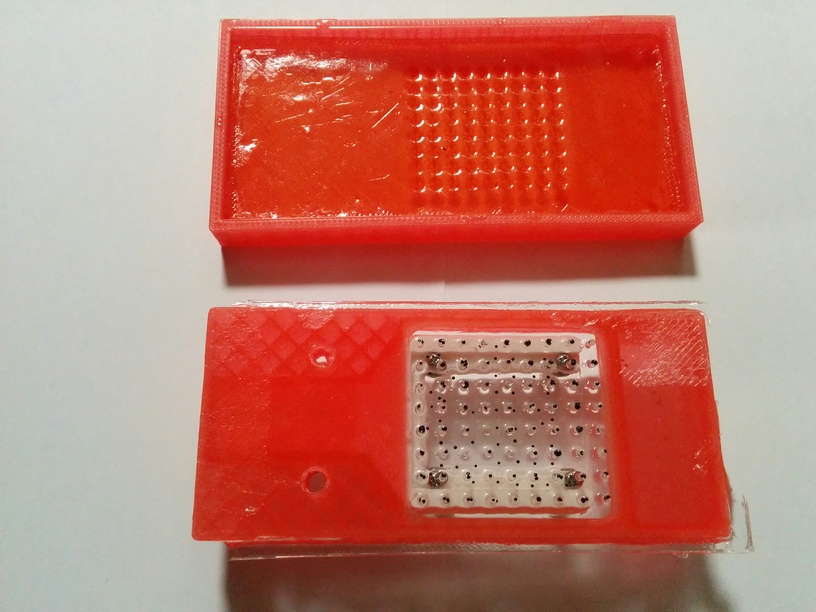
We made a 3D printed object with whiskers:
- Note
- Since the surface of 3D printed objects is not smooth, the transparency of cast silicone is much reduced. In order to make 3D printed object smooth, we coated the surface with Zap Z-Poxy 15 Minute and then Plastruct Plastic Weld.
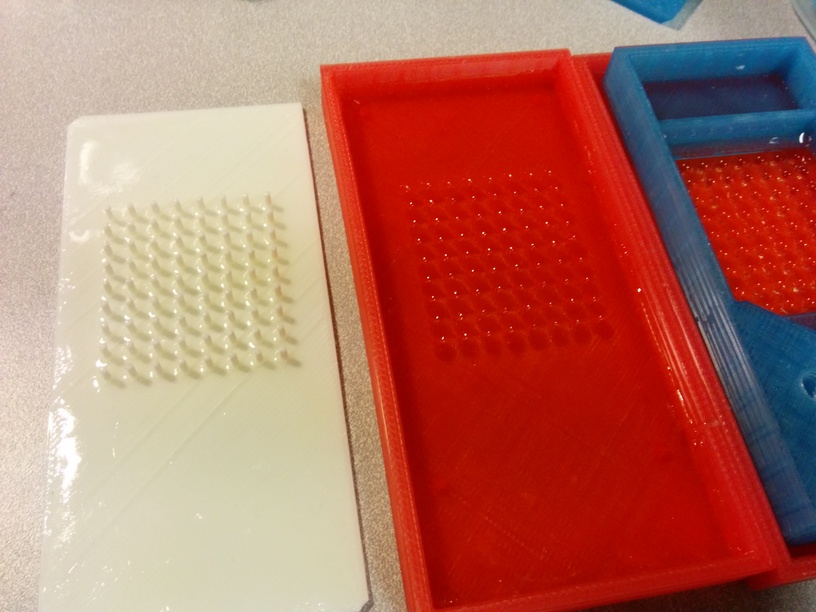
Here is a procedure to make ComposiMold with many holes:
- Pour ComposiMold into a tray.
- Place the 3D printed object with whiskers on it.
- Remove the 3D printed object after ComposiMold cures.
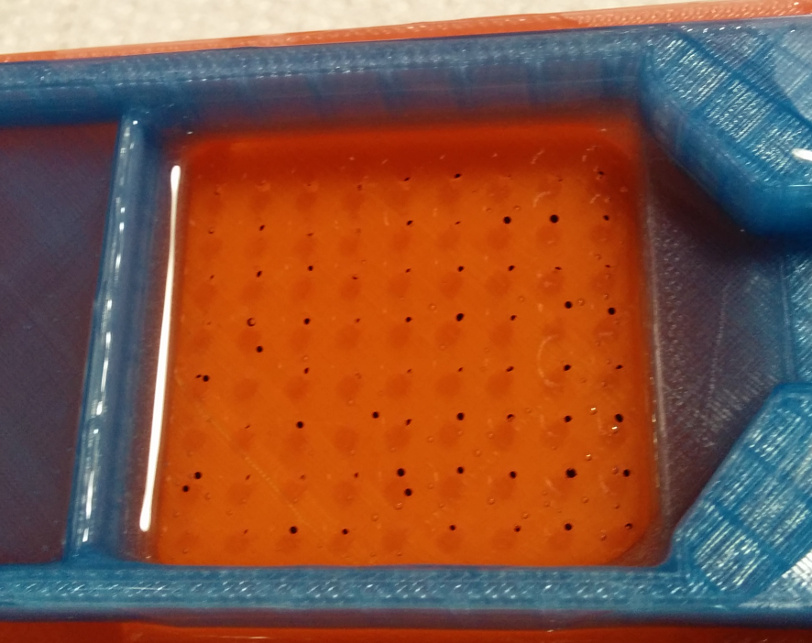
- ComposiMold with many holes has been created.
The remaining manufacturing process is similar to the standard manufacturing process. The differences are the placement of markers, and "post degassing".
Marker placement †
We explore two ways of placing markers. 1) Placing markers only at the tips of whiskers. 2) Placing markers both on skin and the tips of whiskers. For tracking markers, 2) would be better, but it might decrease the transparency of the skin.
For both ways of marker placement, the marker placement guide was useful.
Post degassing †
We use XP-565 of Silicones Inc. as the elastic material. Since XP-565 is viscous, it does not go into the holes of the mold for whiskers. A good solution to this is degassing again after pouring the resin into the mold.
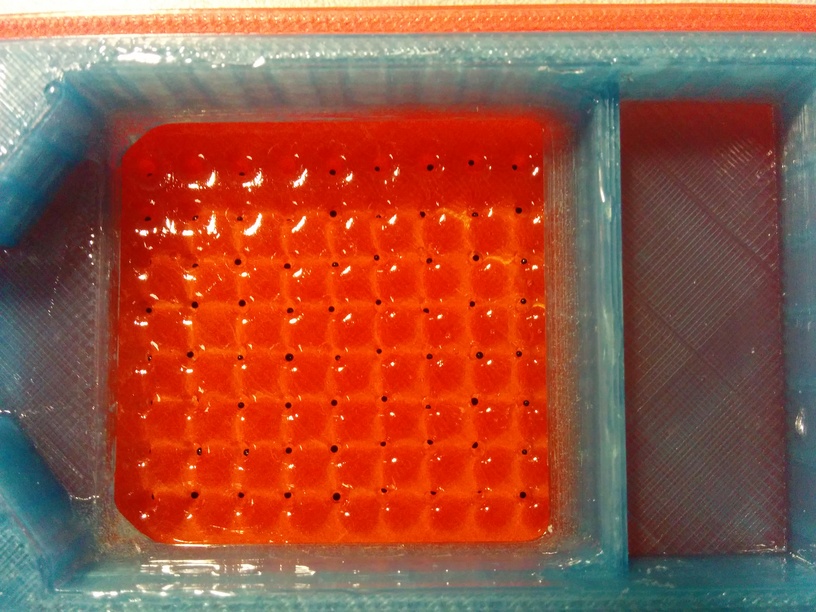
After pouring the mixed resin of XP-565 into the mold, put the mold in a vacuum chamber and degass. The degassing looks:
After degassing:
FingerVision with Whiskers †
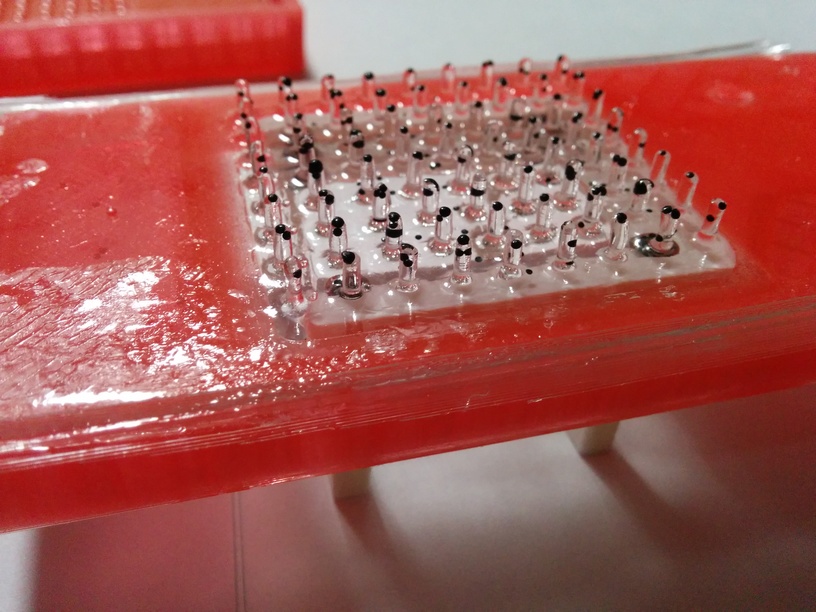
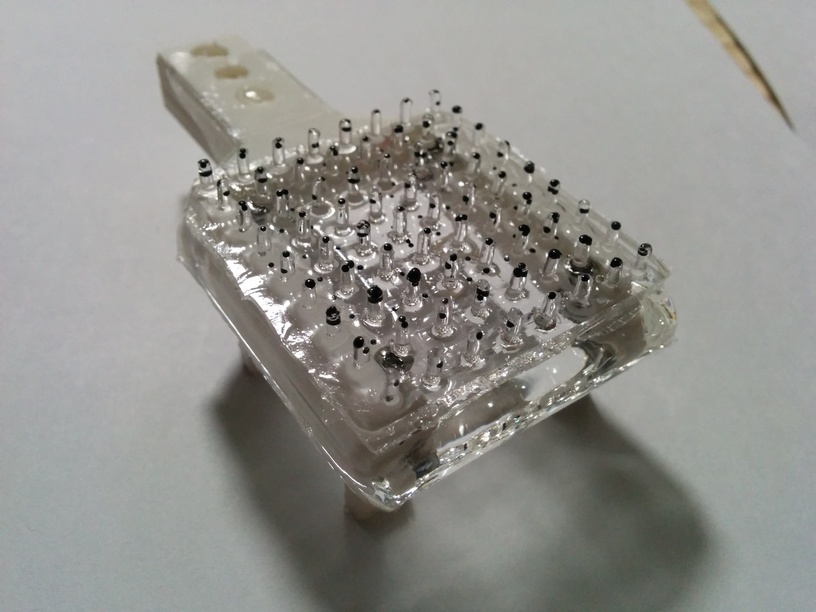
We made two FingerVision with whiskers (marker placement patterns are different).
We found:
- Since the whiskers are made with the same silicone, the skin with whiskers has a good transparency.
- Whiskers cause complicated refraction.
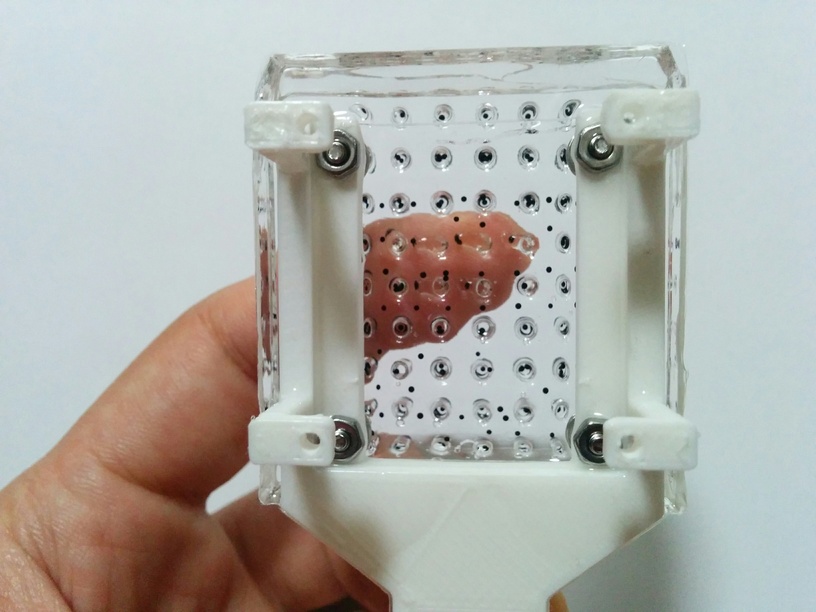
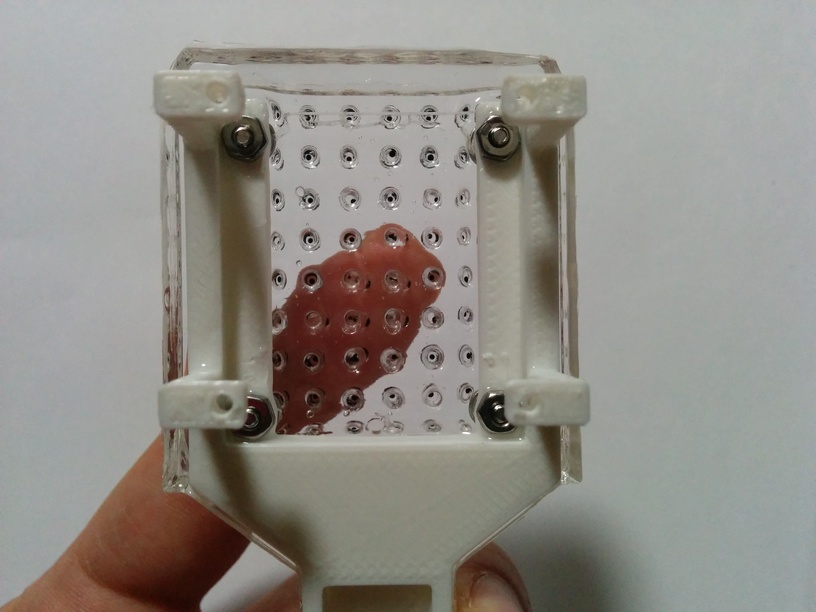
- Whiskers are physically strong. After the pushing experiments (several ten minutes; the skin was pushed by human fingers), only one whisker was broken. This might be caused by a bad placement of a marker. A marker (micro bead) was placed at the root of the broken whisker, which decreased the strength against deformation.
Processing Video Stream †
Although whiskers cause refraction, the Proximity Vision program worked to detect an object and its movement (slippage and deformation). This was because the skin has a good transparency.
However the Marker Tracking program did not work well. What we expected was that the markers placed both at the tips of whiskers and on the skin are detected and tracked. Actually the markers at the tips of whiskers "disappear" or "deform" on the video stream when they move largely because of the refraction caused by whiskers. See the following video:
Call for solutions †
Computer Vision for Tracking Transparent Whiskers †
How do we detect and track the deformation of the transparent whiskers? (take a look at above video) If you have ideas to handle this problem, please contact us.
